Study Tools
Updated as of 24 August 2020.
WordCruncher provides several tools for users that want to study books in-depth. Some tools are similar to other eBook readers, like highlighting and notes. Other tools include useful dictionaries, book synchronization, and window snapshots.
 Book Navigation
Quick Access Icons
The upper-right corner of the Book View contains the Quick Access Icons, which are commonly used to toggle different tools.
| Option | Description |
|---|---|
| Opens or closes the table of contents panel. | |
| Opens or closes the user notes panel. | |
| Opens or closes the footnotes panel. | |
| Pins the window so that it does not synchronize with other books. | |
| A dropdown menu for the common reports: Phrase Compare, Vocabulary Dispersion, Vocabulary Frequency Distribution, Character Usage, and Book Information. |
Citation Bar
The upper-left corner of the Book View contains the Current Location bar. The up arrow ![]() will bring you back to the top of the book. The hyperlinks will bring you to the top of the indicated sections.
will bring you back to the top of the book. The hyperlinks will bring you to the top of the indicated sections.
To quickly jump to a part of the book, press the Tab key. This will bring a drop down menu of the Table of Contents. Type the first few letters of a citation to jump to a certain section of the book. For example, you could press [Tab] > O > [Tab] G > [Tab] > 3 > [Tab] > 14. This would bring you to Genesis 3:14 within the Old Testament.
Note: Using Shift+Tab will open the same menu, but it starts at the last reference level rather than the first reference level.
Table of Contents
The Table of Contents panel shows all the reference levels within the book. Often, book titles or chapter names will be displayed as the first reference level. To navigate to any reference level, click on the text of a reference level. To expand a reference to see lower reference levels (like chapter or paragraph numbers), lick on the + next to each reference level.
Reposition Table of Contents
Selecting this option will reposition the Table of Contents pane or tool window to the current location of the topmost text window. It can be accessed by clicking on Book > Reposition Table of Contents
Window History
WordCruncher remembers the windows that you have viewed. This includes any searches, reports, or hyperlink jumps. To go back or forward, you can use the shortcut commands ALT + Left (Previous Window) or ALT + Right (Next Window), or you can navigate to Go > Back/Forward.
Executing Hyperlinks
Hyperlinks can go to different parts of the same book, open a different book, or open a webpage. It stands to reason that opening a different book or opening a different webpage will open separate windows. With hyperlinks that are within the same book as the hyperlink, however, you have the choice to open it in the same window or a separate window. By default, left-clicking these hyperlinks will open it in the same window. You can right-click on a hyperlink and select Execute Hyperlink or Execute Hyperlink in a New Window.
 User Notes
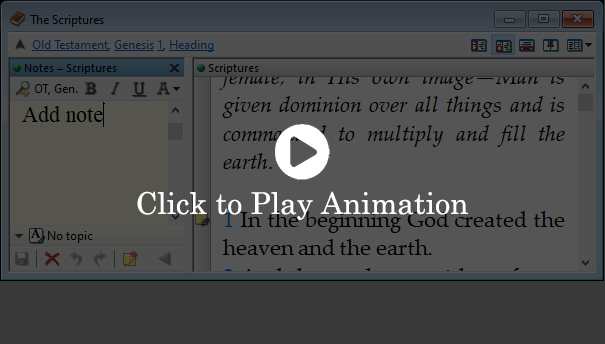
Adding Notes
You can create your own notes within the text. Highlight a selection of text within the Book View and click the ![]() Create Note icon. Alternatively, you can right click within the Book View and select Create Note... This will open the Notes panel where you can add your own custom notes. After a note is made, it's important to click the
Create Note icon. Alternatively, you can right click within the Book View and select Create Note... This will open the Notes panel where you can add your own custom notes. After a note is made, it's important to click the ![]() Save Icon to save any changes to notes.
Save Icon to save any changes to notes.

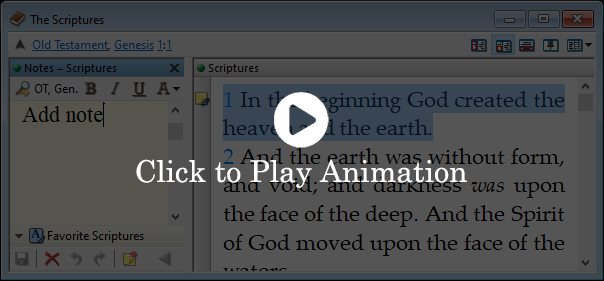
Assigning a Topic to Notes
Notes can also be associated to a topic. By adding a topic to a note, you can easily find notes related to a certain topic with the Highlighter Bounds search function.
Repositioning Notes
Notes can later be repositioned to a different selection of text. Click on the  Reposition Note icon below the text of your notes. Select a different section of text. Then, reclick the Reposition Note icon. Finally, click the
 ![]() Save Icon.
Save Icon.
Formatting Notes
Different formatting styles are available to be applied to notes. The icons are in the upper-right corner of the notes panel, or these options can be found in the Note menu. These options include:
| Option | Description |
|---|---|
 | Bold |
 | Italic |
 | Underline |
 | This is a dropdown menu to change the justification or direction of the text. Justification: Left, Center, Right, and Full Direction: Left-to-Right and Right-to-Left |
Deleting Notes
Clicking on the  button will allow you to delete a note you no longer want.
 User Highlighting and Topics
Adding and Editing Topics
Like most eBook apps, you can highlight text within a book. This highlighting can be associated to different topics and/or notes. Some could consider this qualitative data marking. When highlighting is assigned to a topic, then it is also searchable through the Highlighter Bounds search function in the Search Tools.
To add or edit a topic, click on the down arrow next to any of the ![]() Highlighter icons in the toolbar and select Edit Topics... Alternatively, you can find this menu in Note > Edit Topics...
Highlighter icons in the toolbar and select Edit Topics... Alternatively, you can find this menu in Note > Edit Topics...
In this menu, you can add or remove topics. For each topic, you can edit the name, foreground and background colors, and underline style and color.
Highlighting with Topics
You can choose up to three colors to highlight different sections of your books. To do this, select the drop-down arrow to the left of Bounds in the Search window, then select Highlighter Bounds.
 Bookmarks
Add Bookmarks
You can create new bookmarks and give them names. The default name is the citation for the current location in the text window, but you can type a different name. To do this:
- Move the cursor to a text window and then click with the primary (left) button to set the bookmark location.
- Then, click on the Bookmarks Icon within the toolbar. Alternatively, navigate to Book > Add Add Bookmark.
- Select a name for the bookmark and folder where you want the bookmark to be saved.
- Click the OK button.
Update/Replace Bookmark Location
To update or replace the location of an existing bookmark:
- Move the cursor to a text window and click with the primary (left) button to set the bookmark location.
- Then, click with the secondary (right) button and select Bookmark (replace). Alternatively, navigate to Book > Bookmark (replace)
- Select the bookmark that you want to update.
- Optionally: Check the box that says, "Replace both the bookmark location and the name". This will change the bookmark name to the updated citation. This will overwrite any custom bookmark name.
- Click the Replace button.
Organize Bookmarks
When placing a new bookmark, you can choose to either add it to an existing folder (such as the default 'Bookmarks' folder), or create a new folder for advanced customization and organization of your bookmarks. To do this, click the Create Folder button in the Add Bookmark window and enter the name you would like to user for the new folder.
You can organize your bookmarks in the Organize Bookmarks menu. This menu can be accessed through Go > Organize Bookmarks or by clicking on the bookmark icon for one of your bookmarks and then on Organize in the window that appears. By clicking on one of your bookmarks in this window to select it and then Options, you can choose to rename, delete, or move a bookmark from one folder to another. These functions work identically for folders as they would for bookmarks, allowing renaming, deleting, and movement from one folder to another.
To view all of your bookmarks, select the View Bookmarks icon to the right of the Add Bookmark icon, or navigate to Book > Bookmarks...".
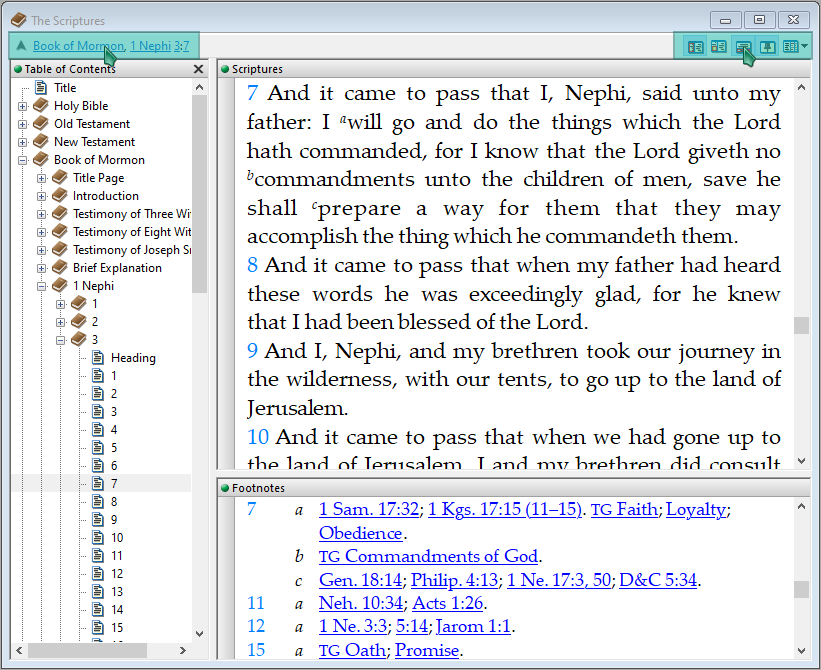
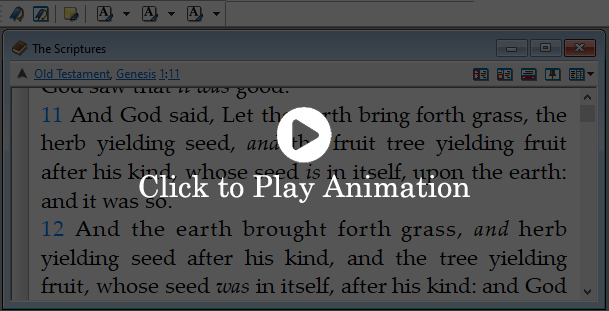
 Footnotes
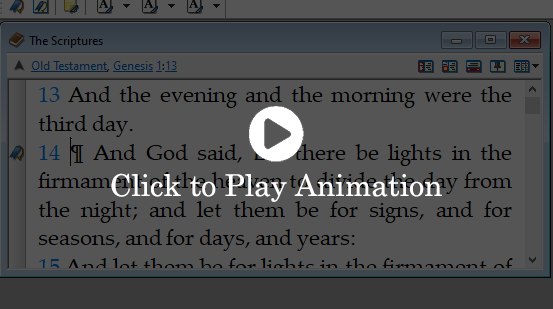
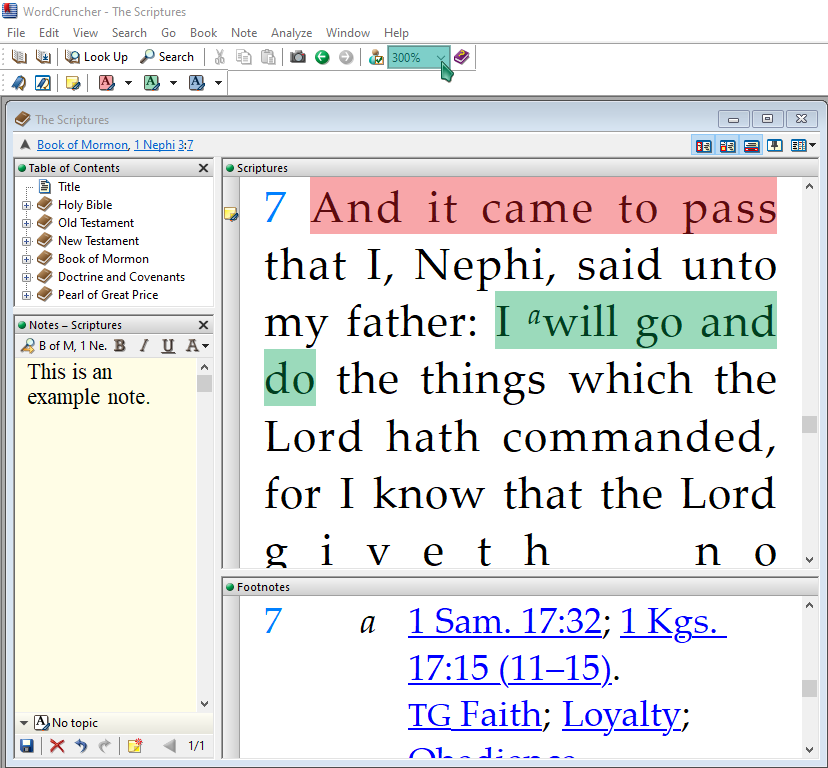
In some books (e.g. The Scriptures) you will find footnotes with links and references. Footnotes can be toggled with the icon indicated in the image below, or by navigating to Book > Footnotes. Footnotes are usually located at the bottom of the book's window.

 Snapshots
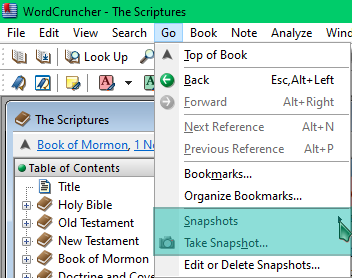
You can save your position in a book by taking a Snapshot and saving it to return to later. To do this, select the Snapshot icon (camera) on the Go Menu at the top of the WordCruncher window. To view your snapshots and return to them, select Go among the options along the top left of the WordCruncher window, then hover your mouse above Snapshots.
 Synchronize Books
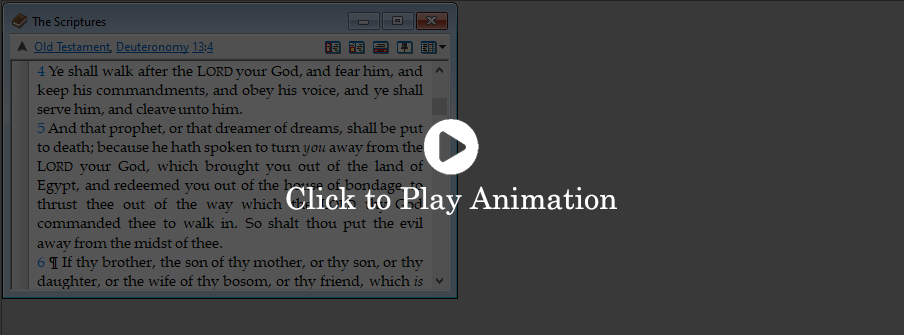
Certain books with multiple translations or versions (e.g. The Scriptures) will synchronize as you scroll, allowing for side-by-side reading and comparison. See Book Options to toggle on/off synchronization between books.

 Dictionaries
Look Up Word
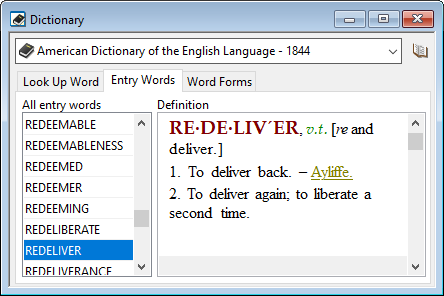
In the Dictionary tool window you can look up a word and see a definition for that word. To open the dictionary, right click on a word and select Look Up This Word In Dictionary. If you have multiple dictionaries downloaded, you will be prompted to select a dictionary. Alternatively, you can open the dictionary window by going to View > Tool Windows > Dictionary. After the initial dictionary window is open, you can simply left click on any word, and it will populate the definition of the word.
Entry Words
You can look through all the dictionary entries by selecting the Entry Words tab in the dictionary.
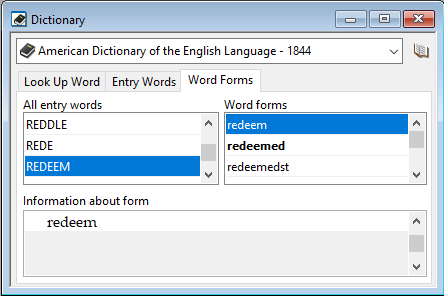
Word Forms
Many dictionary entries have different word forms. The word "redeeming" has word forms like "redeem" and "redeemed". The Word Forms tab displays all word forms for each entry word. WordCruncher will point any of these word forms to the entry words.
 Reference Books
The Reference Books dialog box allows you to see a list of books being used as reference books for the associated book. If the current book has only one reference book, that book will be immediately opened; otherwise, you will see a list of all the reference books assigned to the current book. Clicking a book within this list and then clicking OK will open that book. To access this dialog box, click on Book > Reference Books.
 Search For Words
With your cursor on a word, clicking on either Search for word(s) in... or Search for word(s) in "All Text"... will allow you to search for the word in either the selected word list for the former option, or in the entire text for the latter option. You can also use these options to search for a phrase if you have highlighted a group of words.
 Tagwords
Some books have associated tagwords, which provide more information about a selected word or reference level. Tagwords are added to text usually to highlight keywords, topics, or other categories. Other books tend to show linguistic data about words. To open the tagwords menu, go to View > Tool Windows > Tagwords. Alternatively, the ![]() Tagwords icon can be toggled in the bottom left section of WordCruncher.
Tagwords icon can be toggled in the bottom left section of WordCruncher.
Click Mode can be toggled to change when tagword information is displayed in the Tagwords tool window. If Click Mode is on, word tag information appears when you click a word. If Click Mode is off, word tag information appears when the mouse pointer is over the word, as shown in the above image. You can turn Click Mode on or off by clicking the icon in the top right corner of the Tagwords tool window.
 Dockable Tool Windows
There are a number of windows that you may want to keep open at all times for ease of access. Dockable Tool Windows allow you to do this, keeping any of the panes in the following table visible at all times. Some windows dock immediately when opened in the View > Tool Windows menu (these are specified below). Others do not dock automatically, but once opened can be docked by clicking on Window > Dockable Tool Window.
| Docks Automatically | Window |
|---|---|
| Yes | Library |
| Yes | Table of Contents |
| No | Search |
| No | Search Results |
| No | Dictionary |
| No | Bookmarks |
| No | Notes |
| Yes | Tagwords |
 Adjust Size
The size of text within books can be modified. A dropdown menu is found on the right of the Standard Toolbar with the current zoom percentage. Click on this to choose a new zoom percentage.
 Reader Bar
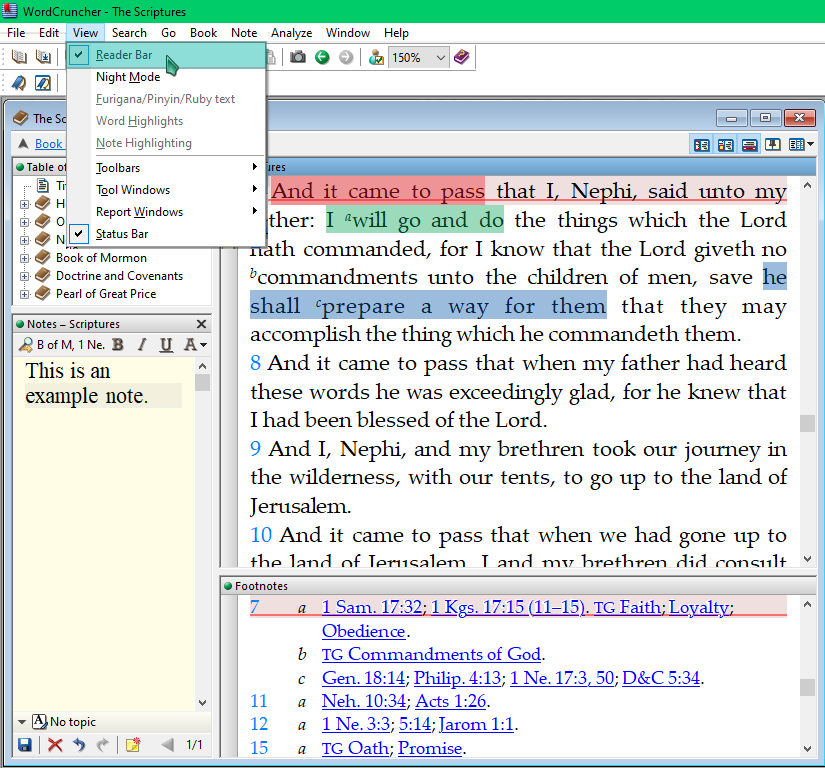
A reader bar can be activated to assist with keeping your place as you read along in a book. When activated, the currently selected line will be highlighted. To activate it, go to View > Reader Bar.
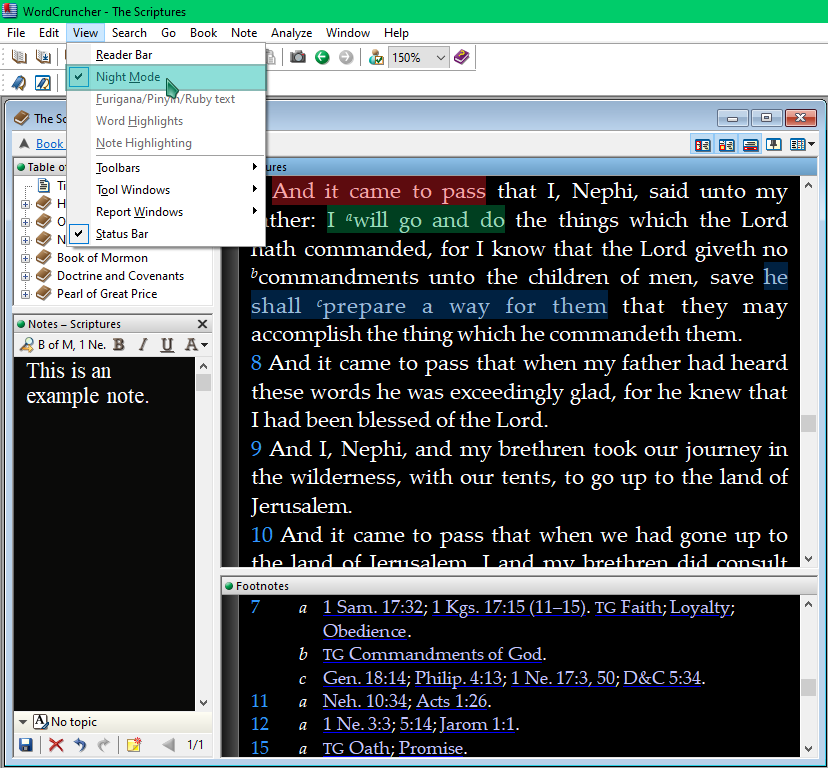
 Night Mode
When Night Mode is activated, it turns the background black and all other colors into contrasting colors. To activate it, go to View > Night Mode.