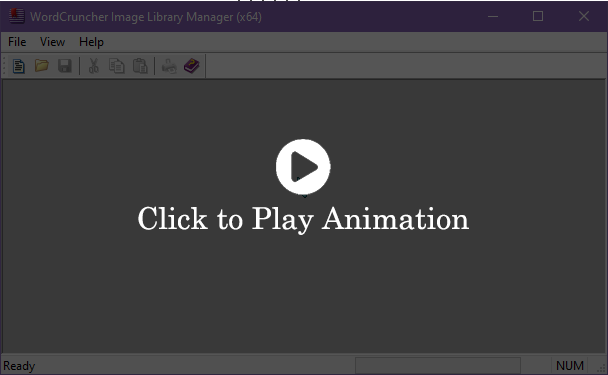
Image Library Manager
Updated as of 24 August 2020.
The Image Library Manager (ILM) is part of the WordCruncher Publishing Toolkit. To get the ILM, apply for the Publishing Toolkit here. In order to add images to WordCruncher books, you need to first import them into the Image Library Manager to create an ETGU file, and then embed the images from the ETGU into your ETAX file.
The Indexer generates an ETGU file, which can be opened into WordCruncher as a graphic. Most often, you will want to embed an image from the ETGU file into a WordCruncher ETAX file.
Importing Images
To generate an ETGU file, you will need to add images in a new file within the ILM. Supported formats: BMP, RLE, DIB, GIF, JPG, JPEG, JPE, PNG, TIF, TIFF, EXIF, WMF, EMF, PDF, and ETG.
- Select File > New.
- Click on the Import Image icon or select Library > Import Image.
- Select a supported file format
- Repeat steps 2 and 3 until all images are added
- Select File > Save and rename the file if desired

Note that the ETGU file needs to be added to your User Library before images will load in a separate ETBU file.
- Select File > Open Book
- Select a folder in WordCruncher User Library
- Click on Options > Add Graphic
- Select the ETGU created in the Image Library
Embedding Images
After creating an ETGU file, you can add those images to your ETAX file with an <I/> tag. The full documentation on how to use <I/> tags is here. Below is a piece of sample code based on the animation example from importing images.
<p>Heihei</p>
<p><I file="img.etgu" dim="p:(1100,825)" idx="1"/></p>
<p>Pua</p>
<p><I file="img.etgu" dim="t:(728,410)" idx="2"/></p>